
Step-by-step coffee tasting at home: master your palate

TL;DR:
- Structured cupping improves palate sensitivity and reveals subtle coffee flavors.
- Essential tools include a digital scale, gooseneck kettle, burr grinder, and tasting journal.
- Consistent measurements, timing, and variable control are key to effective home coffee tasting.
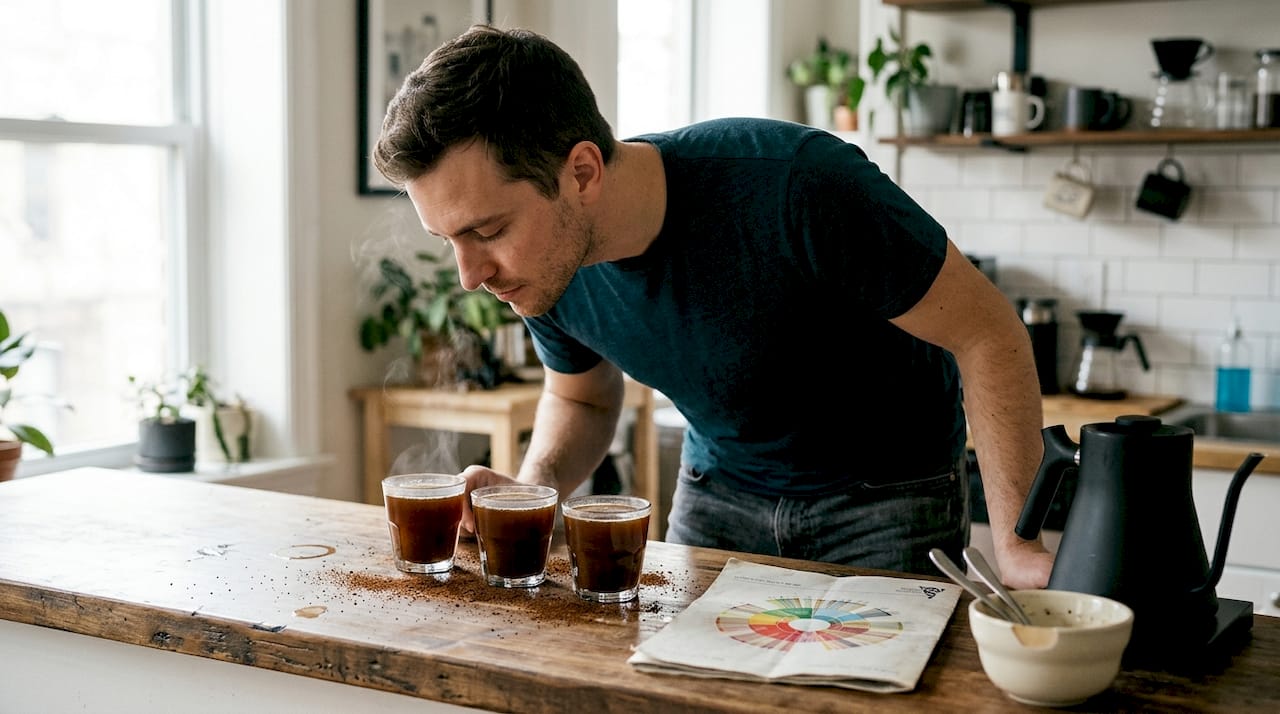
Most coffee lovers never taste the full spectrum of flavors hiding in their cup. A bag of single-origin Ethiopian beans might carry notes of jasmine, blueberry, and dark chocolate, but without a structured approach, those layers blur into “just coffee.” Cupping develops your palate far faster than casual sipping and reveals characteristics you’d otherwise miss entirely. This guide walks you through a repeatable, expert-approved process for tasting specialty coffee at home, from gathering the right gear to logging results that actually improve your palate over time. The best results come from ethically sourced, high-quality beans, so that’s exactly what we’ll focus on.
Table of Contents
- What you need for coffee tasting at home
- How to prepare your tasting session
- Step-by-step coffee tasting: the cupping process
- Comparing results: origins, roasts, and improvement tracking
- Why most home coffee tastings fall short—and how to go further
- Take your coffee tasting to the next level
- Frequently asked questions
Key Takeaways
| Point | Details |
|---|---|
| Essentials matter | Having the right tools and fresh, single-origin beans make a huge difference in accurate tasting. |
| System beats casual sipping | A structured, methodical tasting unlocks deeper coffee flavors. |
| Practice improves results | The more you cup and compare, the sharper your palate becomes. |
| Track your progress | Keeping tasting notes lets you see skill growth and revisit favorite profiles. |
What you need for coffee tasting at home
Now that you know the value of coffee tasting at home, let’s break down exactly what you’ll need. The good news is that you don’t need a professional lab or expensive equipment. Precision and consistency matter far more than fancy tools.
Here’s everything required for a solid tasting session:
- Digital kitchen scale (accurate to 0.1g) for measuring beans and water
- Gooseneck kettle with temperature control, ideally set to 200°F (93°C)
- Burr grinder for uniform, fresh grounds (blade grinders create uneven particles that muddy flavor)
- Cupping bowls or wide mugs (6 to 8 oz capacity, at least two per session)
- Cupping spoons or large soup spoons for slurping
- Filtered water to eliminate chlorine or mineral interference
- Timer for consistent brew contact time
- Two or more coffee samples for comparison
- Tasting journal or notebook to record your observations
| Item | Why it matters |
|---|---|
| Digital scale | Ensures consistent coffee-to-water ratio (1:15 is standard) |
| Burr grinder | Uniform grind = even extraction and cleaner flavors |
| Gooseneck kettle | Precise pour control and accurate temperature |
| Filtered water | Neutral base that doesn’t compete with coffee notes |
| Cupping bowls | Wide opening lets aromas bloom before you taste |
| Tasting journal | Builds flavor memory and tracks palate progress |
For the beans themselves, prioritize freshly roasted, single-origin Arabica to best appreciate subtle flavors. Blends are designed for balance, which actually masks the regional characteristics you want to study. When choosing specialty coffee, look for a roast date on the bag and aim to use beans between 5 and 21 days post-roast. That window is when CO2 has off-gassed enough to allow full flavor expression without going stale.
Your environment matters too. Avoid wearing perfume or cologne during tasting. Keep the room free of cooking smells. Good lighting and a clean table help you stay focused. Check our at-home cupping checklist to make sure nothing gets missed before you start.
Pro Tip: Keep a dedicated tasting journal, not just a phone note. Writing by hand slows you down and forces more deliberate observation, which accelerates flavor memory faster than typing.
How to prepare your tasting session
With your setup ready, here’s how to prepare your tasting for consistent, reproducible results every time. Preparation is where most home tasters cut corners, and it’s exactly where the biggest improvements happen.
Follow these steps before you pour a single drop of water:
- Weigh your beans. Use 8.25g of coffee per 150ml of water. Measure each sample separately and keep the ratio identical across all cups.
- Heat your water. Bring filtered water to 200°F (93°C). Boiling water at 212°F scorches grounds and creates harsh, bitter notes that mask real flavor.
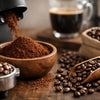
- Grind fresh, grind consistent. Grind each sample right before brewing. Use a medium-coarse setting, roughly the texture of coarse sea salt. Grind one sample at a time and rinse the grinder between samples to avoid cross-contamination.
- Line up your bowls. Place each bowl in a row and label them with sample IDs (A, B, C) rather than origin names. This keeps your evaluation unbiased.
- Add grounds to bowls. Pour each ground sample into its labeled bowl. Before adding water, smell the dry grounds and write your first impressions immediately.
- Standardize your pour. Add hot water to all bowls simultaneously if possible, or in rapid succession. Start your timer the moment water hits the first bowl.
- Wait 4 minutes. Let the coffee steep undisturbed. This is your crust phase, where a thick layer of grounds floats to the surface.
Training with the same coffee via different methods before moving to different origins or roasts accelerates palate training significantly. It teaches you to isolate variables one at a time, which is exactly the mindset behind this preparation process. For more on building this habit, explore structured home tasting approaches that professional tasters use.
Pro Tip: Print or bookmark a coffee flavor wheel before your session. The Specialty Coffee Association’s wheel organizes flavors from broad categories (fruity, floral, nutty) down to specific descriptors (blackcurrant, jasmine, hazelnut), giving you precise language for what your senses detect.
Step-by-step coffee tasting: the cupping process
Now let’s move through each tasting step, so you capture all the subtle differences between coffees. This is the part most people rush, but slowing down here is what separates a trained palate from a casual drinker.
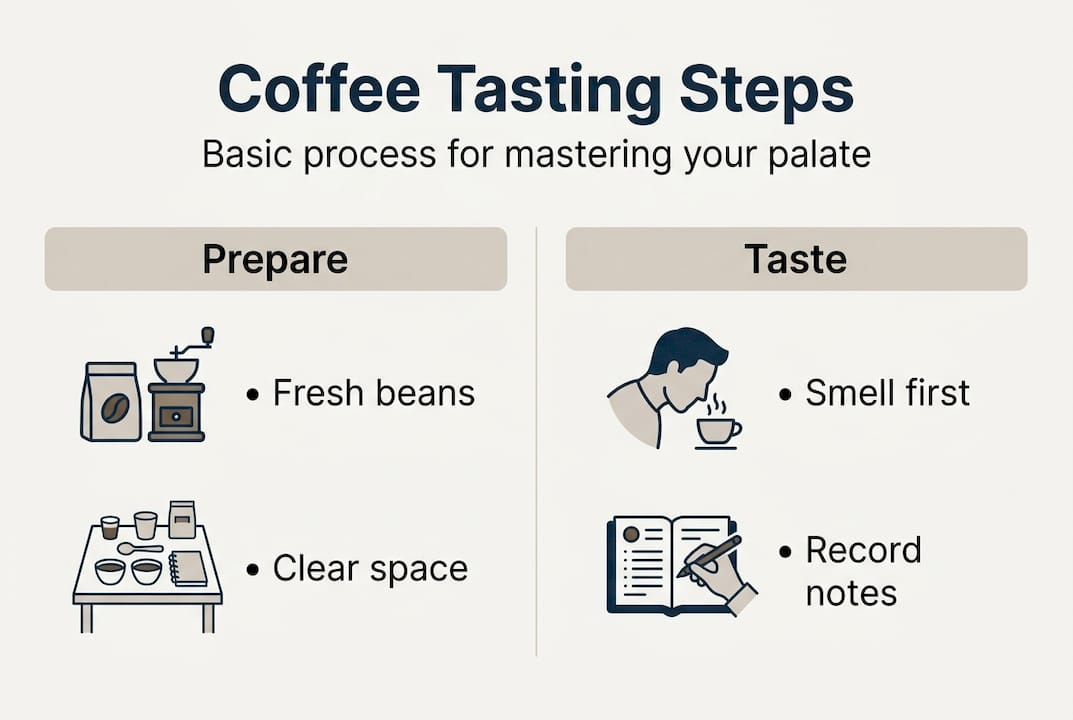
- Smell the dry grounds. Before adding water, inhale deeply over each bowl. Write down any aromas you detect. Dry fragrance often reveals roast level and processing method.
- Add hot water and start the timer. Pour evenly over all bowls, saturating all grounds. Let steep for exactly 4 minutes.
- Break the crust. Use your cupping spoon to gently push the floating crust of grounds toward the back of the bowl three times. Inhale immediately as you break it. This releases the most intense aromatic burst of the session.
- Skim the surface. Remove the floating grounds and foam with two spoons. This clears the surface for clean tasting.
- Wait for the coffee to cool slightly. Ideal tasting temperature is around 160°F (71°C), dropping to 130°F (54°C) as you continue. Flavor complexity increases as coffee cools.
- Slurp loudly. Use your spoon to take a small amount and slurp it forcefully across your entire palate. This aerosolizes the coffee and coats your tongue, soft palate, and the back of your throat simultaneously.
- Evaluate each attribute. Assess acidity (brightness or tartness), sweetness (natural sugars), body (weight and texture in the mouth), and aftertaste (how long and pleasantly the flavor lingers).
- Log everything immediately. Record notes for each sample ID before moving to the next cup.
Use equal portions and identical timings for every sample in your session. Even a 30-second difference in steep time changes extraction enough to skew your comparison.
Comparative tasting reveals differences in processing such as washed versus natural, origin effects, and subtle nuances that casual drinking simply doesn’t expose. Review workflows for coffee cupping to refine your technique, and explore methods for increasing flavor accuracy as your sessions become more advanced.
Comparing results: origins, roasts, and improvement tracking
Once your tasting is complete, it’s time to analyze results and chart your progress. Raw notes are useful, but organized comparison is where real learning happens.
Here’s a sample comparison table to structure your findings:
| Sample | Origin | Roast level | Flavor descriptors | Body | Acidity |
|---|---|---|---|---|---|
| A | Ethiopia Yirgacheffe | Light | Jasmine, blueberry, citrus | Light | High |
| B | Colombia Huila | Medium | Caramel, red apple, hazelnut | Medium | Medium |
| C | Sumatra Mandheling | Dark | Dark chocolate, cedar, earth | Heavy | Low |
As you review your notes, watch for these common patterns:
- High brightness or tartness usually signals a lighter roast or a washed-process bean from East Africa
- Heavy, syrupy body with low acidity points to darker roasts or natural-process beans from Indonesia
- Floral and fruit-forward notes are typical of high-altitude Ethiopian or Kenyan origins
- Nutty, chocolatey, balanced profiles are characteristic of Central and South American beans
- Earthy, woody, or herbal notes often indicate wet-hulled Indonesian processing
Comparing different origins and roasts highlights how region and process shape flavor, and regular practice sharpens your flavor memory in ways that feel almost surprising after just a few sessions. Dig into origin and flavor profiles to understand the geography behind what you’re tasting, and explore how flavors differ across processing methods.
Track your sessions in a spreadsheet or journal with dates. After 10 sessions, review your earliest notes. You’ll notice your early descriptions were vague (“tastes dark”) while later entries become specific (“roasted walnut with a dry, cedar finish”). That progression is your palate growing in real time.
Why most home coffee tastings fall short—and how to go further
Here’s something most guides won’t tell you: the tasting process itself isn’t the hard part. The hard part is doing it consistently, systematically, and with enough discipline to resist shortcuts.
Most enthusiasts do a few side-by-side comparisons, enjoy the experience, and then drift back to their usual routine. They miss the compounding value of repeated, blinded, structured sessions where variables are controlled and results are logged. That’s where expert home tasting strategies separate casual drinkers from genuinely trained palates.
The biggest mistakes we see are rushing the process, skipping calibration (tasting a known reference coffee before each session), and changing too many variables at once. If you switch origin, roast level, and brewing method simultaneously, you can’t isolate what caused a flavor difference. Change one variable per session.
Adopt an experimenter’s mindset. Every cup is data. Every note you write is a reference point for next time. Flavor journaling, calibration, and methodical variable control don’t just improve tasting accuracy, they make the entire experience more rewarding. You stop drinking coffee passively and start engaging with it actively.
Take your coffee tasting to the next level
Ready to advance further? Get the right beans and gear for your next tasting adventure.
At House Coffee, we curate ethically sourced, freshly roasted single-origin beans specifically suited for structured home tasting. Whether you’re building your first tasting flight or refining a practiced palate, our shop specialty coffee beans collection gives you the flavor variety and traceability you need. Pair your beans with the right tools from our brewing essentials selection to keep every session consistent and enjoyable. For those looking to go deeper into the world of specialty coffee, our wholesale specialty coffee page offers resources and options for serious enthusiasts ready to expand their practice.
Frequently asked questions
What is the simplest way to start coffee tasting at home?
Select two different specialty coffees, brew them side by side using equal ratios, and use a flavor wheel to identify distinct aromas and tastes before comparing your notes.
Why use single-origin and freshly roasted beans for tasting?
Fresh, single-origin Arabica offers the most pronounced, undistorted flavor notes, letting you experience true regional characteristics without the blending that masks individual qualities.
How do I know if my palate is improving?
If you consistently detect more subtle flavors and recall differences between coffees from memory, your palate is developing. Regular comparative cupping sharpens flavor recall faster than any other method.
Can I taste coffee blind at home effectively?
Yes. Use numbered cups and keep the coffee identity hidden until after you’ve logged all your notes. This removes expectation bias and builds genuinely unbiased palate skills over time.
What are the common mistakes to avoid in home coffee tasting?
Avoid using stale beans, skipping measurements, or comparing too many coffees in one session. Overloading your senses dilutes focus and makes it harder to isolate what makes each coffee distinct.
Recommended
-
Posted in
en, step by step coffee tasting at home


